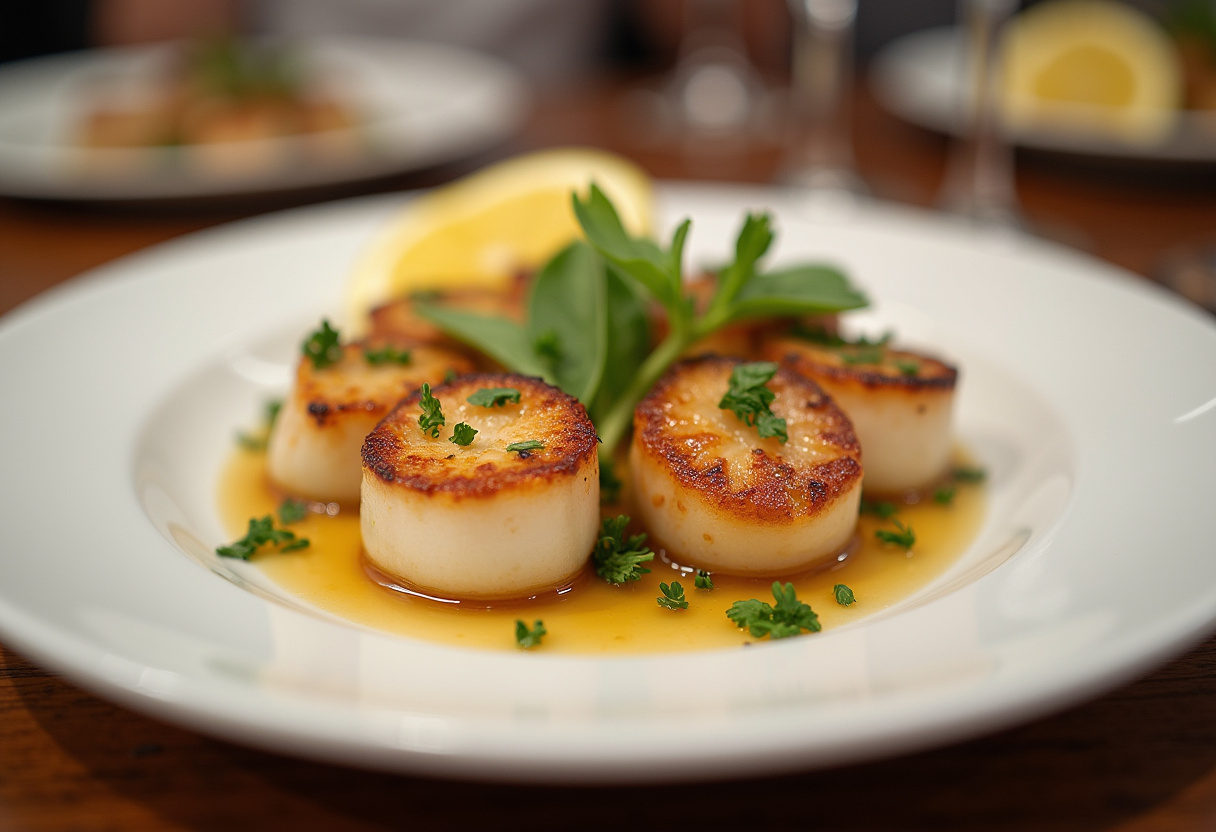
Seared Scallops: A Buttery, Golden Perfection 🍽️🔥✨
1. Introduction
Seared scallops are one of those restaurant-quality dishes that seem intimidating but are actually quite simple to master at home. When cooked properly, these delicate shellfish develop a gorgeous golden-brown crust while maintaining a tender, almost buttery interior. Learning how to sear scallops perfectly is a culinary skill that will elevate your home cooking repertoire.
Whether you’re planning a romantic date night dinner, an impressive appetizer for guests, or just want to treat yourself to something special, this comprehensive guide will walk you through every step. We’ll cover everything from selecting the best scallops to achieving that perfect sear every time. Plus, we’ve included some delicious serving suggestions and variations to keep your meals exciting.
If you enjoy seafood recipes, you might also love our Easy Sheet Pan Chicken Fajitas for another quick yet impressive meal option. Both dishes prove that gourmet cooking doesn’t have to be complicated!
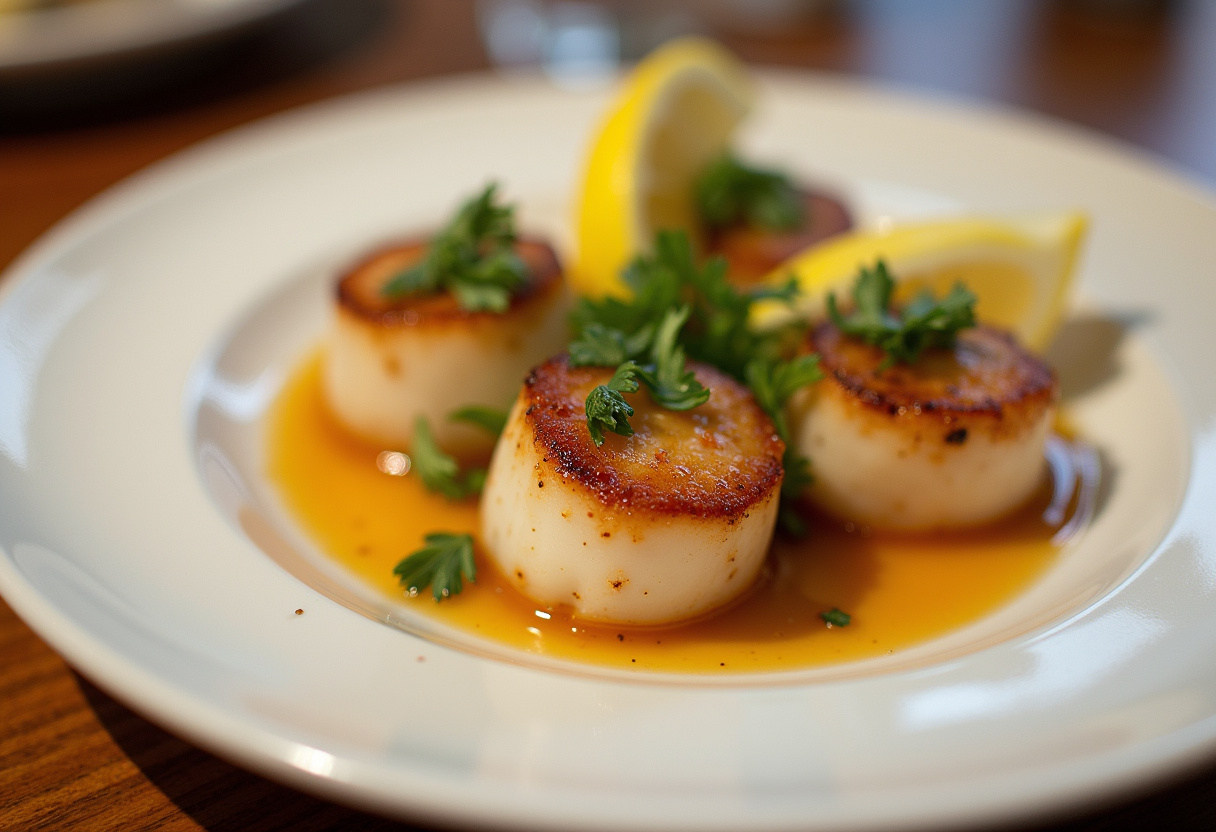
2. Ingredients
One of the beauties of seared scallops is their simplicity. You only need a few high-quality ingredients to create this elegant dish:
- 12 large fresh scallops – Look for “dry” scallops (not treated with preservatives) for best results
- 2 tablespoons unsalted butter – Adds rich flavor and helps with browning
- 1 tablespoon olive oil – Helps prevent the butter from burning
- Salt and freshly ground black pepper – Simple seasoning enhances the natural sweetness
- 1 lemon – For bright, fresh acidity to balance the richness
- Fresh herbs (parsley or thyme work particularly well) – Adds color and aroma
For those who enjoy experimenting with flavors, check out our Beef Recipes section for more protein inspiration that pairs beautifully with scallops.
3. Equipment
Having the right tools makes all the difference when learning how to sear scallops:
- Cast-iron skillet or heavy-bottomed pan – Provides even heat distribution for consistent searing
- Tongs – For gently flipping the delicate scallops
- Paper towels – Essential for drying the scallops thoroughly
- Kitchen timer – Helps prevent overcooking (scallops cook quickly!)
4. Step-by-Step Instructions
Step 1: Prepare the Scallops
Proper preparation is crucial for perfect seared scallops. Start by removing them from their packaging and patting them completely dry with paper towels. Any surface moisture will create steam instead of allowing that beautiful crust to form. Check each scallop for the small side muscle (it looks like a little tab) – if present, peel it off as it can be tough. Season both sides lightly with salt and pepper just before cooking – seasoning too early can draw out moisture.
If you’re looking for more quick-prep meal ideas, our Chicken Recipes collection offers plenty of options that come together as quickly as these scallops.

Step 2: Heat the Pan
Place your skillet over medium-high heat and let it get properly hot before adding any fat. This usually takes about 2-3 minutes. Add the olive oil first, then the butter. The combination works perfectly – the butter adds incredible flavor while the oil raises the smoke point to prevent burning. Wait until the butter stops foaming and you see wisps of smoke – this indicates the pan is at the ideal temperature for searing. A properly heated pan is the secret to getting that restaurant-quality crust on your scallops.
Step 3: Sear the Scallops
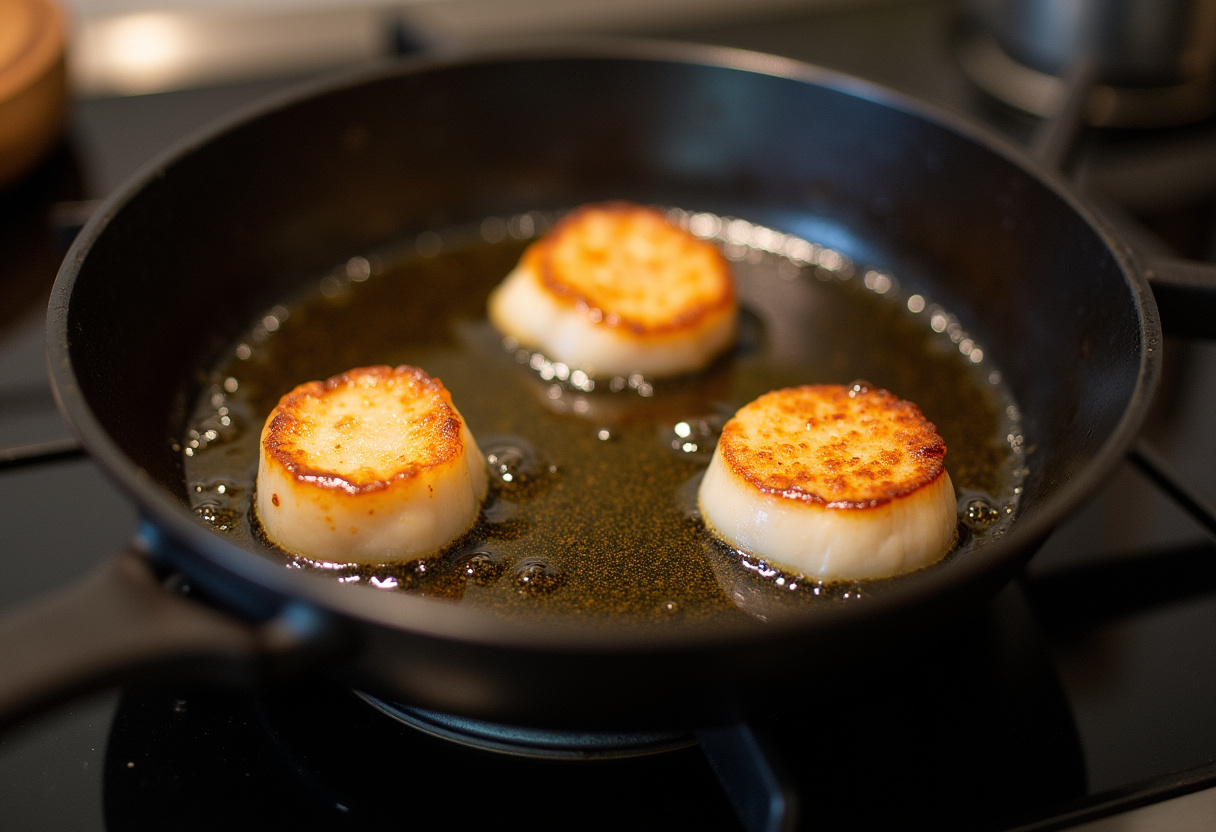
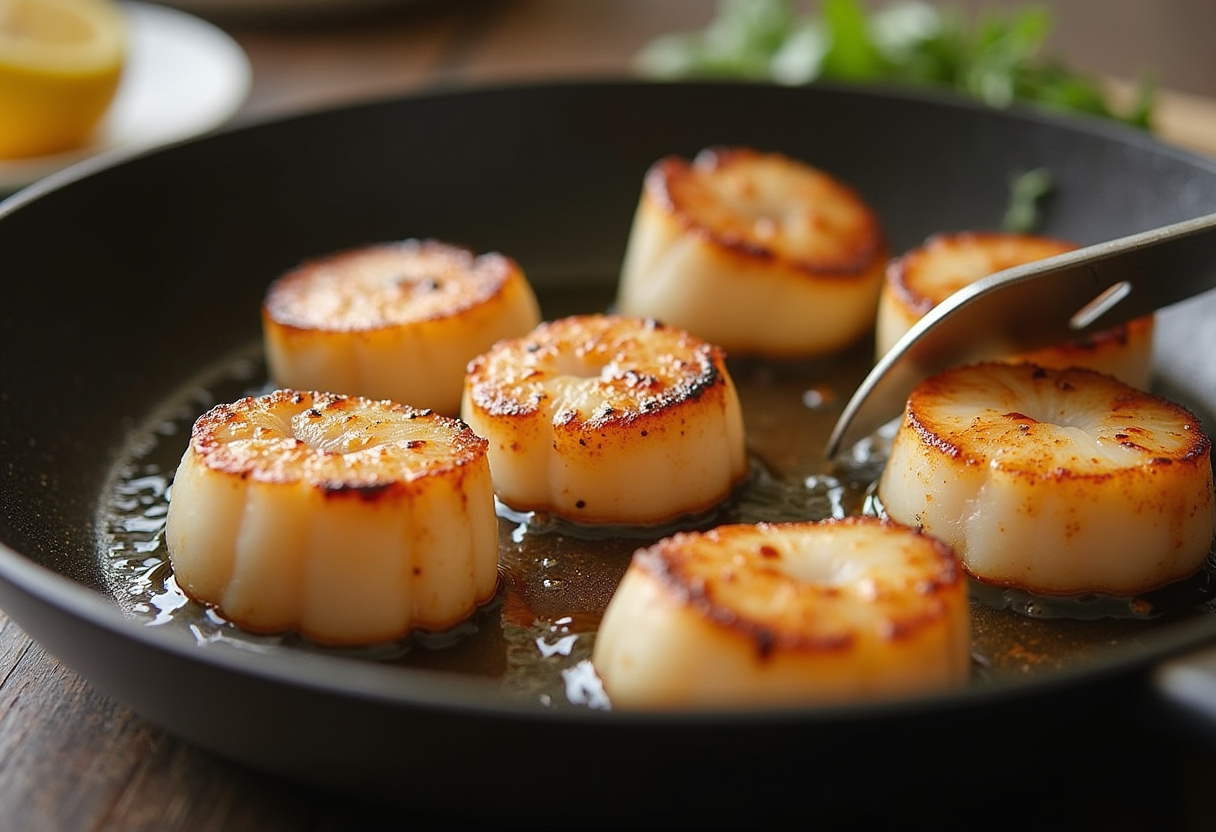
Carefully place the scallops in the pan, using tongs to avoid splattering hot fat. Leave about an inch between each scallop – overcrowding will cause them to steam rather than sear. This is where patience pays off: resist the urge to move or poke at them! Let them cook undisturbed for 2-3 minutes to develop that perfect golden crust. You’ll know they’re ready to flip when they release easily from the pan – if they stick, they need more time.
For more cooking techniques and tips, visit our About Page where we share our culinary philosophy and favorite methods.
Step 4: Flip and Finish
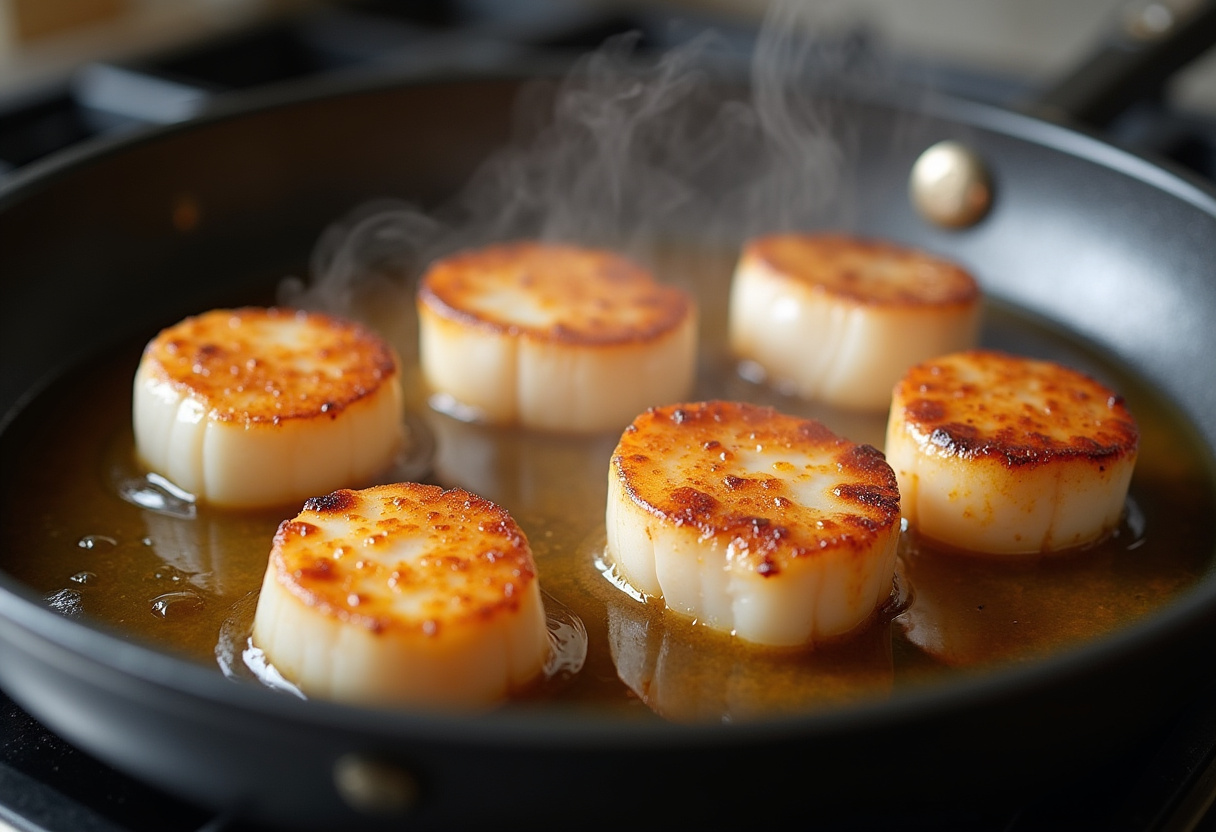
Using tongs, gently flip each scallop – they should have a beautiful caramelized surface. Cook for just 1-2 minutes more on the second side. The scallops are done when they feel slightly firm to the touch but still have some give (similar to the fleshy part of your palm below your thumb). Remove them immediately from the pan to prevent overcooking – remember, they’ll continue cooking slightly from residual heat.
5. Serving Suggestions
Now that you’ve mastered how to sear scallops, let’s talk presentation! Serve your golden beauties immediately with a squeeze of fresh lemon juice to brighten the rich flavors. A sprinkle of chopped fresh herbs adds color and freshness. For complete meals, consider:
- Over creamy risotto or polenta
- With a simple arugula salad dressed with lemon vinaigrette
- Alongside roasted asparagus or other seasonal vegetables
- On a bed of pureed cauliflower for a low-carb option
Looking for more dinner inspiration? Browse our Dinner Recipes section for complete meal ideas that pair well with scallops.
6. Tips for Success
- Buy quality scallops: Look for “dry” scallops (not treated with preservatives) which sear better and have superior texture.
- Patience with the pan: Make sure your pan is properly heated before adding scallops – you should see wisps of smoke from the oil.
- Don’t overcrowd: Cook in batches if necessary to maintain pan temperature.
- Rest before serving: Let scallops rest for a minute after cooking to redistribute juices.
- Freshness matters: For the best flavor and texture, cook scallops within 1-2 days of purchase.
7. Common Mistakes to Avoid
- Not drying thoroughly: Any surface moisture prevents proper searing.
- Moving too soon: Let the scallops develop a crust before flipping.
- Overcooking: Scallops become rubbery when cooked too long – they cook quickly!
- Using nonstick pans: They don’t get hot enough for proper searing.
- Over-seasoning: The delicate flavor of scallops can be overwhelmed.
8. Variations
Once you’ve mastered the basic technique for how to sear scallops, try these delicious variations:
- Garlic Butter: Add minced garlic to the pan during the last minute of cooking
- White Wine Sauce: Deglaze the pan with white wine after removing scallops
- Balsamic Glaze: Drizzle with reduced balsamic vinegar before serving
- Herb Crust: Press chopped herbs onto the scallops before searing
- Asian-Inspired: Use sesame oil and finish with soy sauce and sesame seeds
For more creative seafood preparation ideas, check out this excellent Garlic Basil Seared Scallops recipe from our friends at Inspired Taste.
9. Conclusion
Now that you know exactly how to sear scallops like a professional chef, you can enjoy this restaurant-quality dish anytime the craving strikes. Remember: dry scallops, hot pan, don’t overcrowd, and don’t overcook. With these simple principles and a little practice, you’ll be creating buttery, golden-brown scallops that rival those from the finest seafood restaurants.
Scallops make any meal feel special, whether it’s a weeknight dinner or a celebratory occasion. We’d love to hear about your scallop-searing adventures! Share your experiences and any creative variations you try in the comments below. For more culinary inspiration, explore our collection of Breakfast Recipes to start your day right after enjoying these delicious scallops the night before.
Happy cooking, and may all your scallops be perfectly seared! 🍽️✨
Print
Sear Scallops
- Total Time: 10 minutes
Description
Learn how to make perfectly seared scallops with a golden-brown crust and tender interior. This simple yet luxurious dish is perfect for special occasions or gourmet weeknight dinners.
Ingredients
- 12 large fresh scallops
- 2 tablespoons unsalted butter
- 1 tablespoon olive oil
- Salt and freshly ground black pepper to taste
- 1 lemon (for garnish)
- Fresh herbs (parsley or thyme, optional)
Instructions
- Pat scallops dry with paper towels and remove side muscle if present. Season both sides with salt and pepper.
- Heat olive oil and butter in a cast-iron skillet over medium-high heat until butter stops foaming.
- Carefully place scallops in pan, leaving space between them. Sear undisturbed for 2-3 minutes until golden crust forms.
- Gently flip scallops and cook for another 1-2 minutes until slightly firm but still tender.
- Remove immediately from pan and serve with lemon and fresh herbs.
Notes
- Use dry scallops (not treated with preservatives) for best results
- Don’t overcrowd the pan – cook in batches if necessary
- Let scallops rest for 1 minute before serving to retain juices
- Pair with risotto, salad, or roasted vegetables for a complete meal
- Prep Time: 5 minutes
- Cook Time: 5 minutes
Nutrition
- Serving Size: 3 scallops
- Calories: 180 Kcal
- Sugar: 1g
- Sodium: 420mg
- Fat: 10g
- Saturated Fat: 4g
- Unsaturated Fat: 5g
- Trans Fat: 0g
- Carbohydrates: 4g
- Fiber: 0g
- Protein: 20g
- Cholesterol: 55mg
Keywords: seared scallops, perfect scallops, scallop recipe, gourmet seafood, easy scallops, restaurant-style scallops
