Classic Braided Easter Bread: A Timeless Tradition of Sweetness and Artistry 🍞🥚✨
1. Introduction
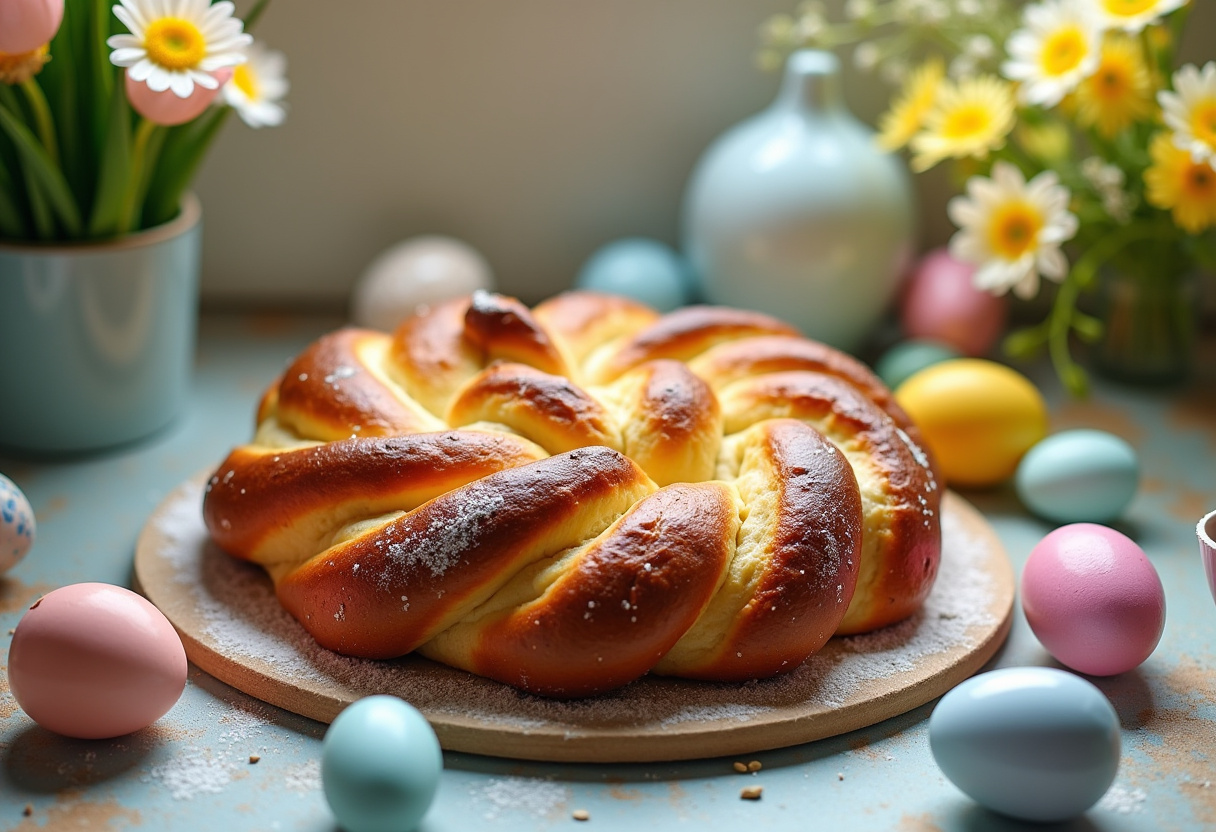
Easter is a cherished time for family gatherings, joyous celebrations, and, of course, indulging in delicious, traditional foods. Among the many culinary delights that grace our tables during this special season, the Classic Braided Easter Bread stands out as a beautiful and exceptionally flavorful centerpiece. This Easter bread recipe is more than just a simple baked treat; it’s a delightful sensory experience, carefully blending rich, comforting flavors with a stunning visual display that perfectly embodies the very spirit of the Easter holiday. Whether you’re a seasoned baker with years of experience or someone relatively new to the wonderful world of bread making, this comprehensive guide will expertly walk you through each and every step, ensuring your braided bread recipe turns out absolutely perfectly. Imagine the inviting aroma of sweet bread gently baking in your oven, the intricate beauty of the carefully crafted braid, and the sensation of sinking your teeth into the soft, wonderfully enriched dough – all of these elements combine to make this traditional Easter bread a deeply memorable and much-anticipated part of your Easter celebrations, a tradition to be enjoyed and shared with loved ones.
2. Understanding the Essence of Easter Bread
At its very heart, sweet braided bread beautifully represents new beginnings, fresh starts, and the unbridled joy that defines the Easter season. The act of braiding itself carries a profound symbolic weight, representing the unity and the intertwining of lives during this very special time of year. The specific ingredients carefully chosen for this bread, which often include staples like eggs, rich butter, and the sweetness of sugar, all contribute to creating a delightfully rich and incredibly tender crumb that is both deeply satisfying and utterly comforting to the palate. While countless variations of this beloved bread exist, the classic recipe generally focuses on a slightly sweet dough, a blank canvas that perfectly complements additional flavors like bright citrus zest, plump raisins, or a simple, glistening glaze. Preparing this bread meticulously from scratch allows you to infuse every step of the process with your own love and care, ultimately creating a cherished family tradition that will undoubtedly be passed down and enjoyed for many years to come. If you’re looking for other ideas for breakfast you can visit our breakfast category. Or if you prefer something quicker check out our cheesy potato egg scramble.
3. Gathering Your Ingredients
Before you even think about beginning the baking process, it’s crucial to ensure that you have all of the necessary ingredients readily available and within easy reach. This simple step will significantly streamline the entire baking process, preventing any potential last-minute surprises or frantic searches through your pantry. Here’s a comprehensive list of what you’ll need to create a truly delightful traditional Easter bread:
- All-purpose flour: The foundation of your bread, providing structure and texture.
- Active dry yeast: The leavening agent, responsible for the bread’s rise and airy texture.
- Granulated sugar: Adding sweetness and contributing to the bread’s tender crumb.
- Salt: Enhancing the flavors and controlling the yeast activity.
- Milk: Providing moisture and richness to the dough.
- Butter: Adding flavor, tenderness, and a golden-brown crust.
- Eggs: Enriching the dough and providing structure.
- Vanilla extract: Enhancing the overall flavor profile with a touch of warmth.
- Lemon or orange zest (optional): Adding a bright, citrusy aroma and flavor.
- Raisins or dried cranberries (optional): Providing bursts of chewy sweetness and texture.
4. Step-by-Step Baking Instructions
Now, let’s dive directly into the heart of this exceptional Easter bread recipe! To ensure the most successful outcome, carefully follow each of these meticulously detailed steps to create a beautifully formed and exceptionally delicious loaf that will impress everyone who tastes it. You can also find similar recipes on external websites like Allrecipes.
1. Preparing the Dough
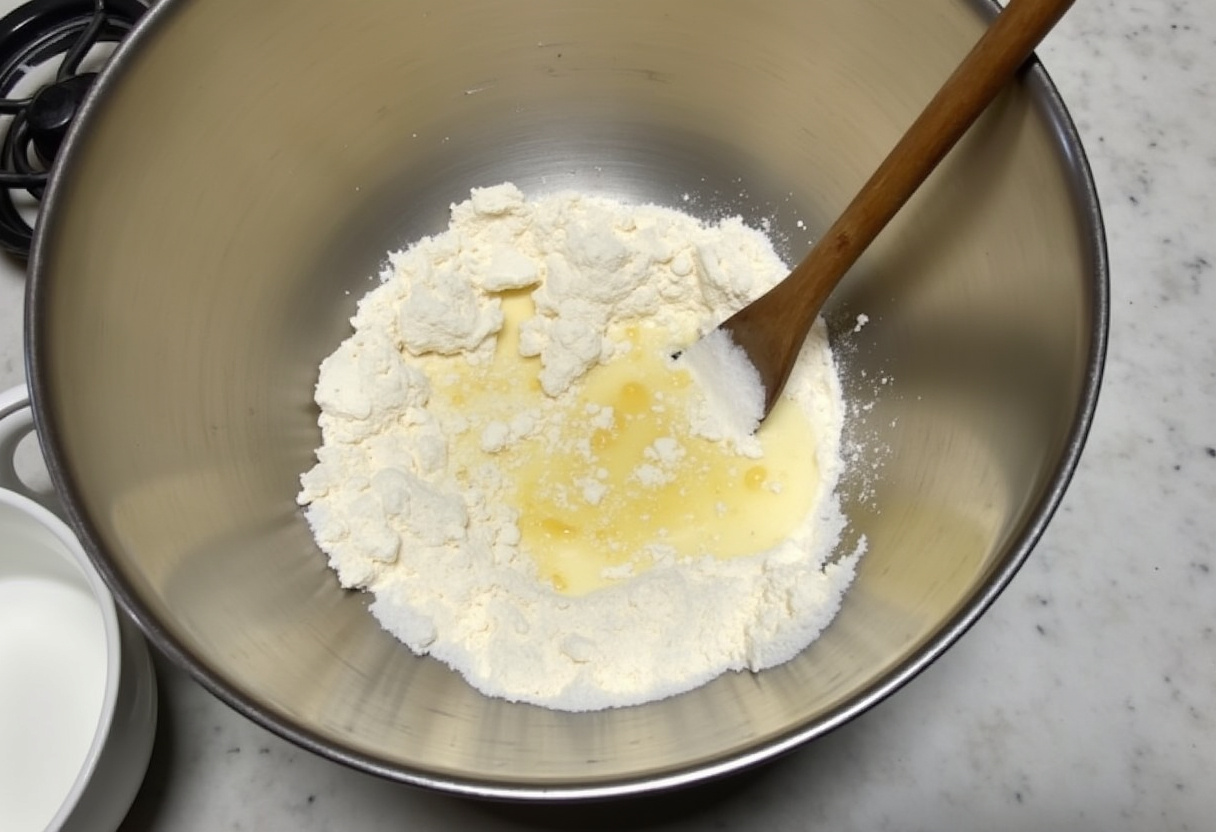
Begin by activating the yeast. In a small bowl, carefully combine warm milk (ensure it’s around 110°F – too hot and you risk killing the yeast) with a teaspoon of sugar and the active dry yeast. Gently let this mixture sit undisturbed for approximately 5-10 minutes or until you observe a foamy layer forming on top, indicating that the yeast is active and ready to work its magic. In a separate, large bowl, whisk together the flour, remaining sugar, and salt until they are thoroughly combined. Add the yeast mixture, melted butter (make sure it’s cooled slightly), eggs, and vanilla extract to the dry ingredients. If you’ve chosen to use them, now is the time to stir in the citrus zest and/or dried fruits. Mix all of the ingredients together until a shaggy dough begins to form. Also make sure to check out other dessert recipes like our Easter dirt cake casserole.
2. Kneading and Proofing
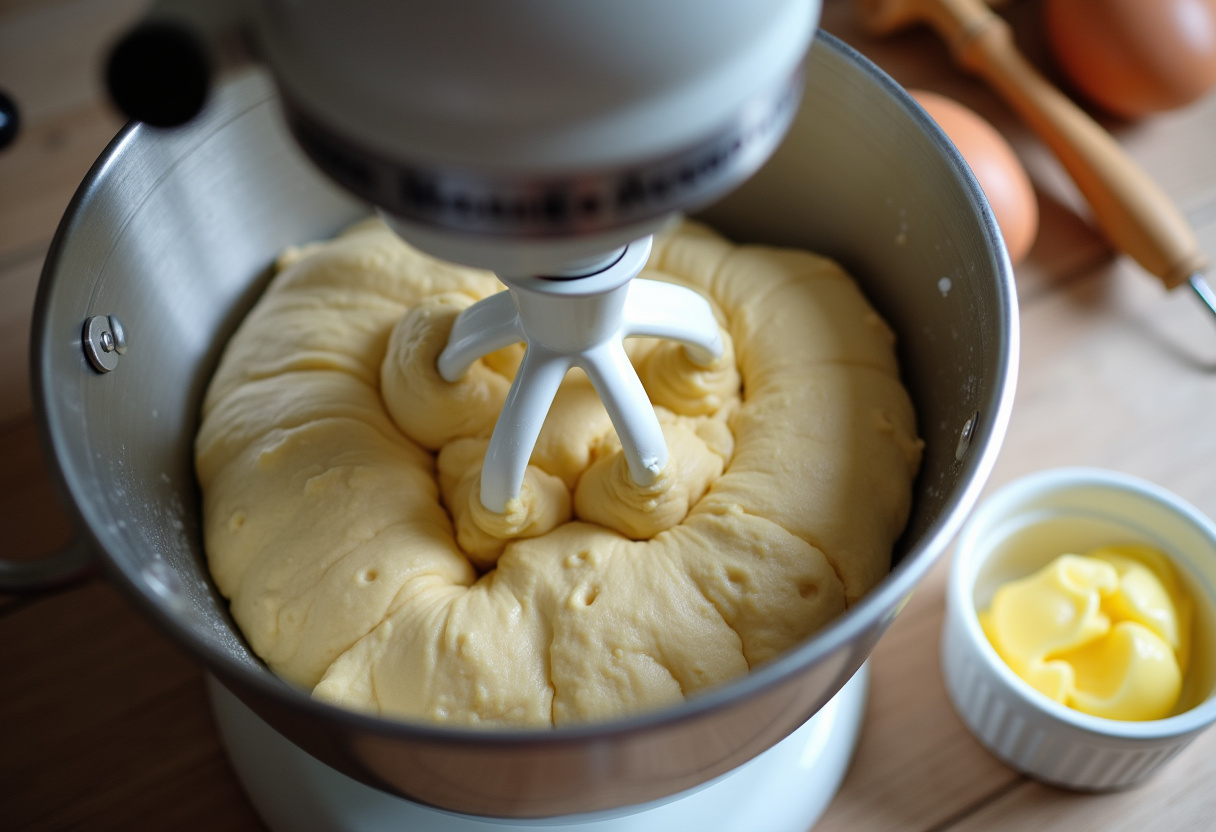
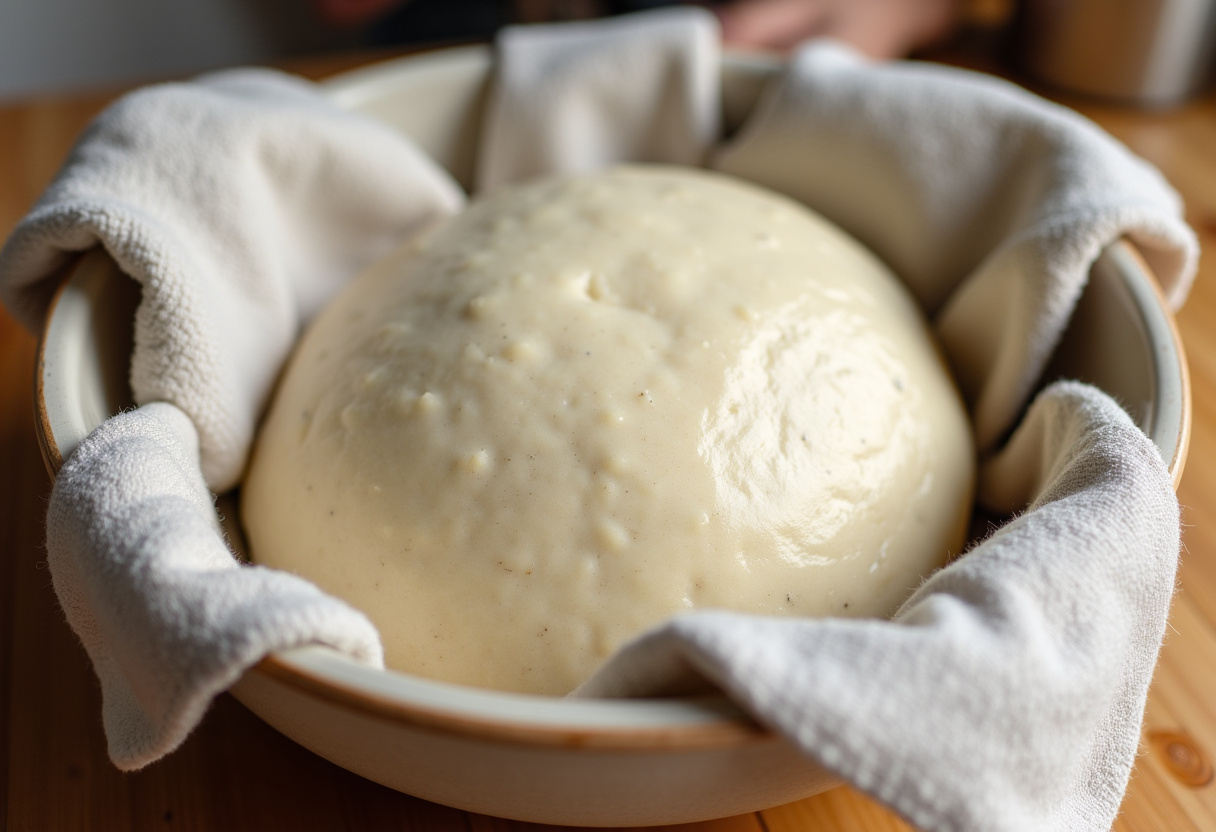
Turn the dough out onto a clean, lightly floured surface. Knead the dough for approximately 8-10 minutes, or until it transforms into a smooth and elastic texture. Alternatively, if you have a stand mixer, you can use it with a dough hook attachment to knead the dough. Once the dough is properly kneaded, place it in a lightly greased bowl, turning it to ensure that the entire surface of the dough is coated with a thin layer of grease. This will prevent the dough from drying out during the rising process. Cover the bowl tightly with plastic wrap or a clean kitchen towel and let it rise in a warm place for approximately 1 to 1.5 hours, or until the dough has visibly doubled in size. This crucial step allows the yeast to fully activate, working its magic to create a light and airy sweet braided bread. If you enjoy baking cookies you should definetly try our cream cheese sugar cookies and also learn how to make frosted red velvet cookies.
3. Shaping the Braid
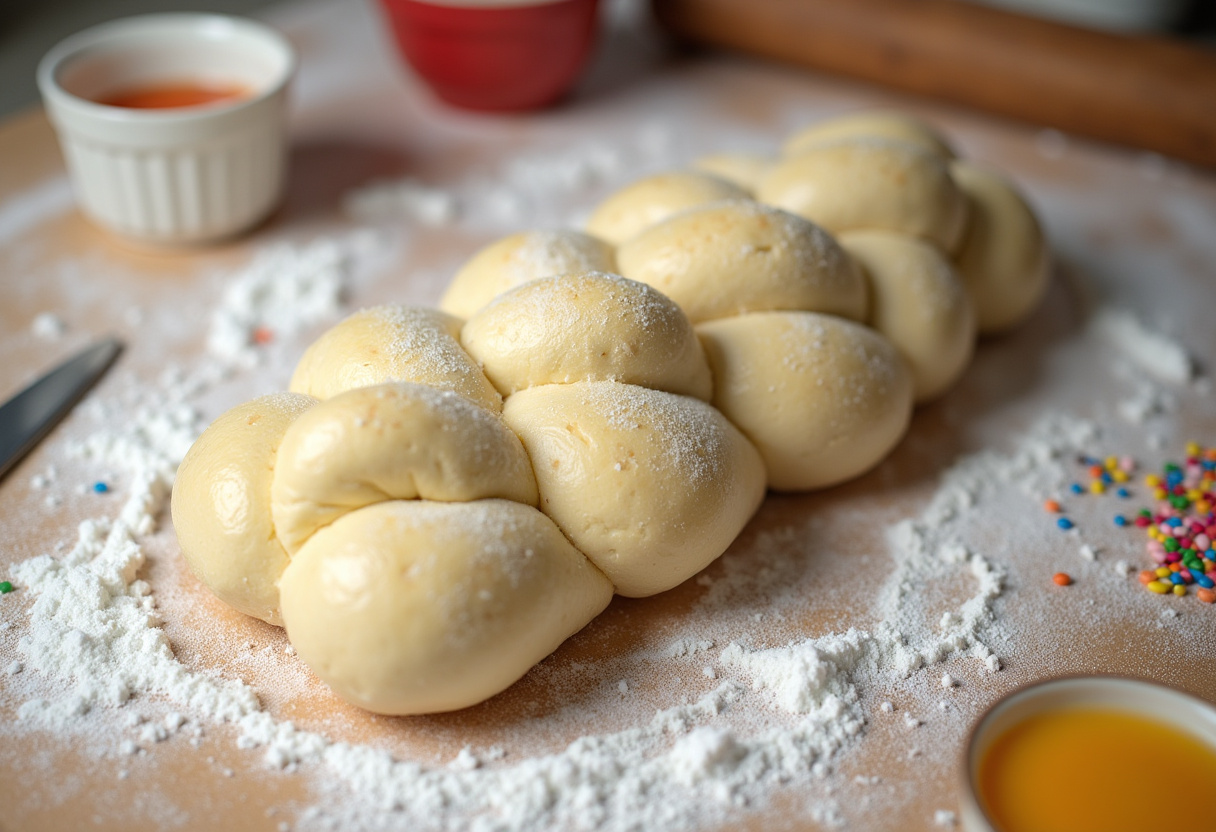
Once the dough has sufficiently risen, gently punch it down to release any trapped air bubbles. Divide the dough into three equal pieces, ensuring that each piece is approximately the same size for a more uniform braid. Roll each piece of dough into a long rope, aiming for a length of about 12-14 inches. The more consistent the ropes, the neater your braid will be. Place the three ropes side by side on your work surface and carefully pinch them together at one end, securing them to form a base for your braid. Now comes the fun part: braid the ropes together, taking care to keep the braid relatively loose and even. Avoid pulling the dough too tightly, as this can distort the shape of the braid. Once you’ve reached the end of the ropes, pinch the ends together firmly to seal them, preventing the braid from unraveling during baking. Gently transfer the beautifully braided dough to a baking sheet that has been lined with parchment paper. This will prevent the bread from sticking and make it easier to remove after baking. You can pair this with our delicious festive glazed ham.
4. Baking to Golden Perfection
Cover the carefully braided dough with a clean cloth or plastic wrap and allow it to rise again for another 30-45 minutes. This second rise will help the bread achieve its final, airy texture and beautiful shape. While the dough is rising, preheat your oven to a temperature of 350°F (175°C), ensuring that it is fully heated before you place the bread inside. Prepare an egg wash by whisking an egg together with a tablespoon of milk. Once the dough has finished its second rise, gently brush the entire surface of the loaf with the egg wash. This will give the bread a beautiful golden-brown crust as it bakes. Carefully place the baking sheet with the braided dough into the preheated oven and bake for approximately 30-35 minutes, or until the bread is a rich, golden-brown color and sounds hollow when you gently tap on the bottom. Once baked, remove the braided bread recipe from the oven and let it cool completely on a wire rack before you slice and serve it. Allowing the bread to cool completely ensures that it is fully set, making it easier to handle and slice without tearing.
5. Tips for a Perfect Braid
While braiding dough might initially seem like a complicated task, with a few helpful tips and a little practice, you’ll be creating professional-looking braided bread in no time!
- Ensure that the dough ropes are as even in thickness as possible. This consistency will result in a more uniform and visually appealing braid.
- Avoid pulling the dough too tightly as you braid. Excessive tension can cause the dough to tear or become misshapen, ruining the overall appearance.
- If you find that the dough is becoming sticky and difficult to handle, lightly flour both your work surface and your hands. This will prevent the dough from sticking and make it easier to work with.
- Don’t strive for absolute perfection! A braid that is slightly imperfect actually adds character and a touch of rustic charm to your traditional Easter bread. The unique variations are part of its homemade appeal.
6. Creative Variations and Additions
While the classic recipe is undeniably delightful in its simplicity, don’t hesitate to explore different variations and creative additions that perfectly suit your individual tastes and preferences. Feel free to let your imagination run wild and experiment with different flavor combinations to create a truly unique and personalized Easter bread:
- Add a swirl of Nutella or your favorite fruit preserves before braiding the dough. This will create a delicious burst of flavor in every slice.
- Incorporate chopped nuts such as almonds, pecans, or walnuts into the dough for added texture and a delightful nutty flavor.
- Once the bread has been baked and cooled, top it with a simple glaze made from powdered sugar and milk or lemon juice. This will add a touch of sweetness and a beautiful sheen to the finished loaf.
- Decorate the top of the baked bread with colorful sprinkles, edible glitter, or Easter candies for an extra festive and celebratory touch.
7. Serving and Storage Suggestions
Serve your freshly baked sweet braided bread warm from the oven or at room temperature. It is incredibly versatile and pairs perfectly with a variety of accompaniments such as creamy butter, your favorite fruit jam or preserves, or a generous drizzle of golden honey. If you happen to have any leftovers (though it’s unlikely!), store them in an airtight container at room temperature for up to 2 days or in the refrigerator for a slightly extended period of up to 5 days. To refresh the bread and restore some of its original texture, gently warm it in the oven before serving. This Easter bread recipe is also exceptionally delicious when toasted, making it a perfect addition to breakfast or brunch. If you like carrot cake you might also enjoy our carrot cake for easter dinner or even try our carrot cake with a twist!
8. Troubleshooting Common Issues
- If the dough doesn’t seem to be rising as expected, make sure that your yeast is still fresh and active. Also, ensure that the milk you are using is warm enough – it should feel comfortably warm to the touch, but not scalding hot.
- If the finished bread turns out to be too dry for your liking, try adding an extra tablespoon or two of milk to the dough in your next attempt. This will help to increase the moisture content and create a more tender crumb.
- If the braid appears uneven or begins to lose its shape during the rising process, gently reshape it with your hands during the second rise. This will help to ensure a more visually appealing final product.
9. Conclusion
The Classic Braided Easter Bread is far more than just a simple recipe or a baked good; it is a cherished tradition that has the power to bring families and loved ones together in celebration. With its incredibly inviting sweet aroma, its beautiful and intricate braid, and its wonderfully tender crumb, this traditional Easter bread is guaranteed to be a highlight of your Easter holiday celebration. So, gather all of your ingredients, carefully follow the steps outlined in this guide, and take immense joy in the process of creating this timeless and unforgettable treat. Happy baking, and Happy Easter!
Print
Classic Braided Easter Bread
- Total Time: 2 hours 35 minutes
- Yield: 1 large loaf
- Diet: Vegetarian
Description
Classic Braided Easter Bread: A beautiful and flavorful centerpiece for your Easter celebrations. This braided bread recipe is a blend of rich flavors and a stunning visual display, perfect for sharing with family and friends.
Ingredients
- All-purpose flour
- Active dry yeast
- Granulated sugar
- Salt
- Milk
- Butter
- Eggs
- Vanilla extract
- Lemon or orange zest (optional)
- Raisins or dried cranberries (optional)
Instructions
- Preparing the Dough: Combine warm milk (about 110°F) with a teaspoon of sugar and the active dry yeast. Let it sit for 5-10 minutes until foamy. In a large bowl, whisk together the flour, remaining sugar, and salt. Add the yeast mixture, melted butter, eggs, and vanilla extract. If using, stir in the citrus zest and dried fruits. Mix until a shaggy dough forms.
- Kneading and Proofing: Turn the dough out onto a lightly floured surface and knead for 8-10 minutes, or until smooth and elastic. Place the dough in a greased bowl, turning to coat. Cover and let rise in a warm place for 1-1.5 hours, or until doubled in size.
- Shaping the Braid: Punch down the risen dough to release the air. Divide the dough into three equal pieces. Roll each piece into a long rope, about 12-14 inches long. Place the ropes side by side and pinch them together at one end. Braid the ropes together, keeping the braid loose and even. Pinch the ends together to seal. Gently transfer the braided dough to a baking sheet lined with parchment paper.
- Baking to Golden Perfection: Cover the braided dough and let it rise again for 30-45 minutes. Preheat your oven to 350°F (175°C). Brush the loaf with an egg wash (egg beaten with a tablespoon of milk) for a beautiful golden-brown crust. Bake for 30-35 minutes, or until the bread is golden brown and sounds hollow when tapped on the bottom. Let cool on a wire rack before slicing and serving.
Notes
- Keep the dough ropes even in thickness for a uniform braid.
- Avoid pulling the dough too tightly, as this can cause it to tear or become misshapen.
- If the dough is sticky, lightly flour your work surface and hands.
- Don’t worry about perfection! A slightly imperfect braid adds character.
- Add a swirl of Nutella or fruit preserves before braiding for a burst of flavor.
- Incorporate chopped nuts, such as almonds or pecans, for added texture.
- Top the baked bread with a simple glaze made from powdered sugar and milk or lemon juice.
- Decorate with colorful sprinkles or Easter candies for a festive touch.
- If the dough doesn’t rise, ensure the yeast is fresh and the milk is warm enough.
- If the bread is too dry, try adding a tablespoon or two of milk to the dough.
- If the braid is uneven, gently reshape it during the second rise.
- Prep Time: 30 minutes
- Cook Time: 35 minutes
- Category: Bread
- Method: Baking
- Cuisine: European
Nutrition
- Serving Size: 1 slice
- Calories: 250 Kcal
- Sugar: 15g
- Sodium: 200mg
- Fat: 8g
- Saturated Fat: 4g
- Unsaturated Fat: 3g
- Trans Fat: 0g
- Carbohydrates: 40g
- Fiber: 2g
- Protein: 5g
- Cholesterol: 40mg
Keywords: Easter bread, braided bread, sweet bread, Easter bread recipe, braided bread recipe, traditional Easter bread, homemade bread, enriched dough, baking, Easter baking, holiday bread

