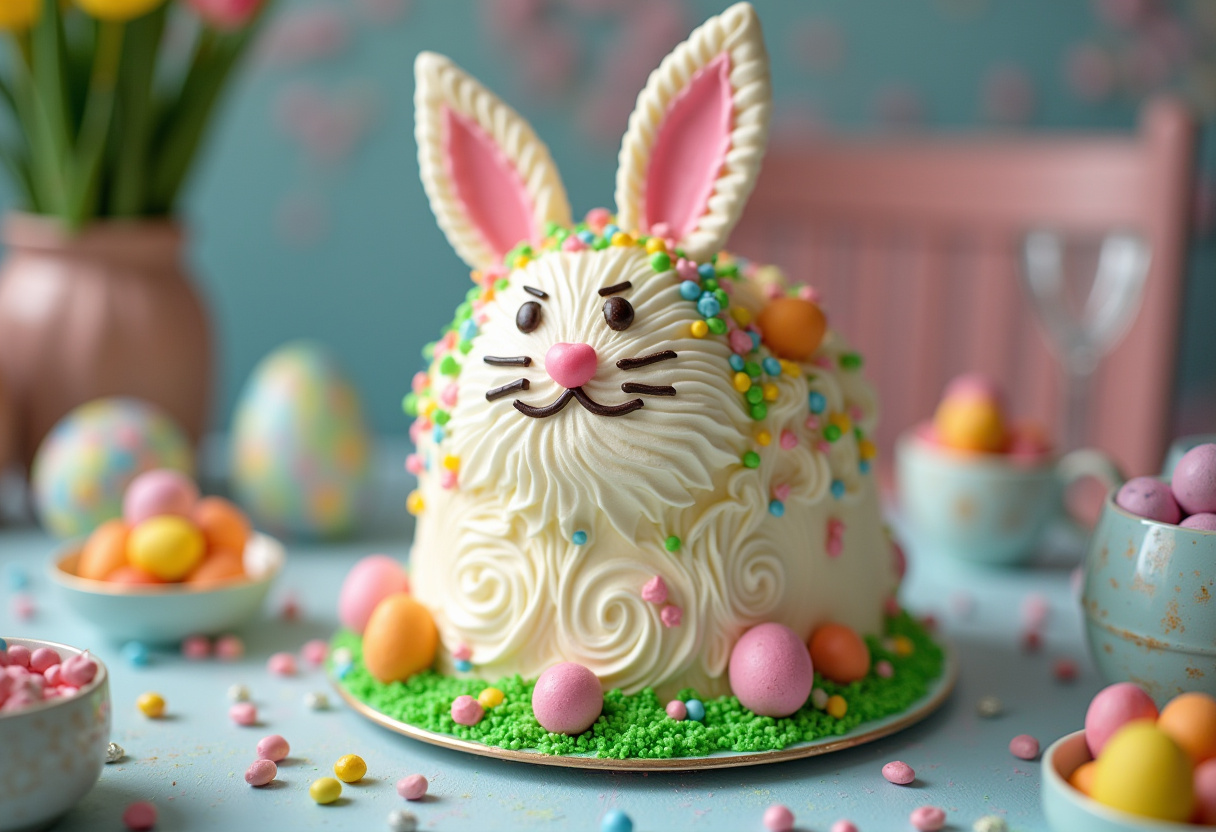
Best Homemade Easter Bunny Cake: Hop into Spring with this Adorable Treat! 🐰🍰🌸
1. Introduction
Easter is the perfect time to unleash your inner baker and get creative in the kitchen, and what better way to celebrate the season than with a delightful homemade Easter Bunny Cake? This Easter Bunny Cake recipe is not only a fun and engaging baking project, but it also results in a stunning centerpiece that will grace your holiday table with charm and cheer. Forget those generic, store-bought cakes – with our easy-to-follow guide, you’ll be creating a festive bunny cake that will genuinely impress everyone who gathers around your table. Whether you’re actively seeking out fresh Easter cake ideas or you simply want to try your hand at a heartwarming homemade bunny cake, this recipe is guaranteed to become a cherished family tradition. So, get ready to hop into the kitchen, preheat that oven, and bake some Easter magic! And if you’re planning a larger Easter dinner, consider adding a delicious glazed ham to your menu!
2. Understanding the Basics of Baking a Bunny Cake
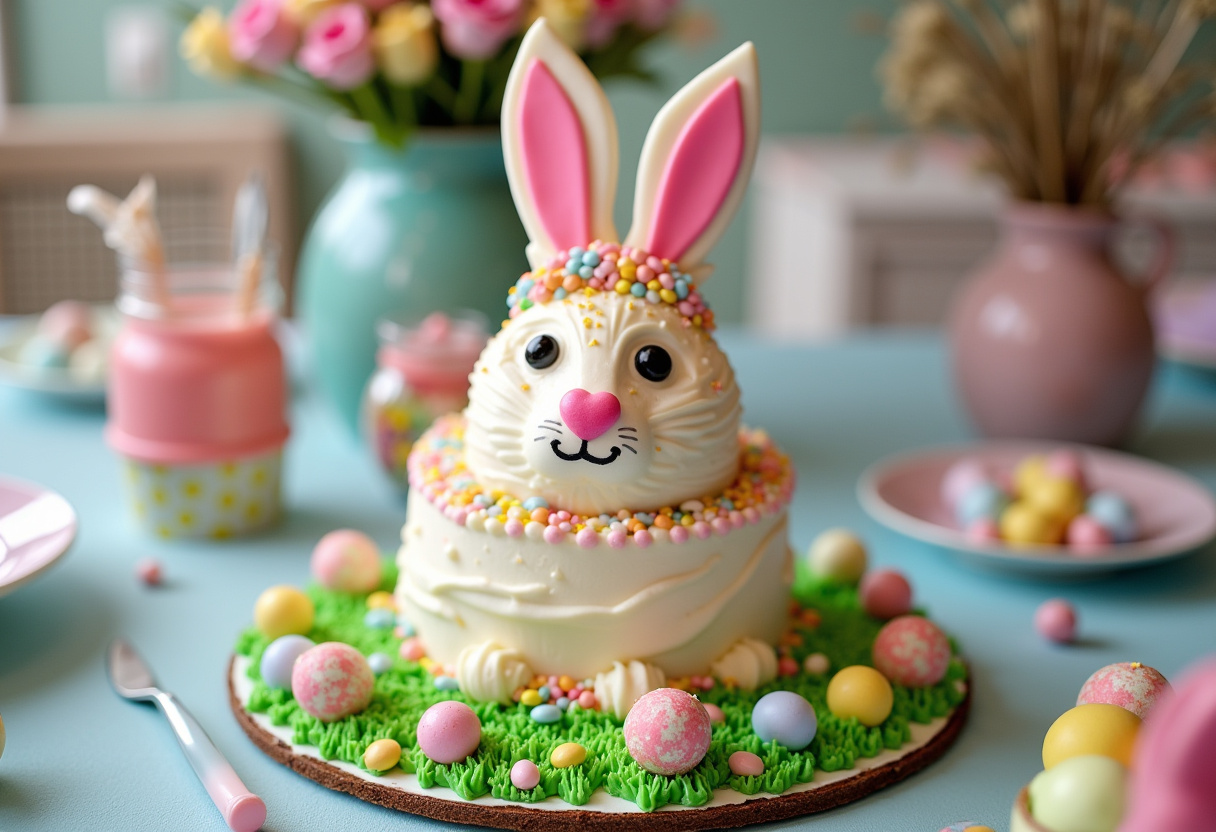
Before diving headfirst into the recipe itself, let’s take a moment to understand the fundamental principles that underpin a truly exceptional bunny cake. A great Easter Bunny Cake recipe invariably starts with a solid and reliably delicious cake base – typically a light and airy vanilla or a rich and buttery butter cake. However, the real magic—the part that truly sets it apart—happens in the creative shaping and artful decorating. To achieve that signature bunny form, you’ll ideally need a bunny-shaped cake pan, which is readily available online through various retailers or in most well-stocked kitchen supply stores. A crucial step is ensuring that your chosen pan is meticulously well-greased (and perhaps even lightly floured) to guarantee an easy and clean release after baking. The goal is for your homemade bunny cake to not only taste utterly divine but also to bring a genuine sense of joy and delight with its undeniably adorable appearance, instantly making it one of the most eagerly anticipated and talked-about Easter cake ideas. Speaking of Easter ideas, you might want to explore some other desserts to complete your holiday feast!
3. Gathering Your Ingredients and Equipment
To successfully create the best possible homemade Easter Bunny Cake, you’ll need to assemble the following ingredients and equipment:
- 2 1/2 cups all-purpose flour
- 1 1/2 cups granulated sugar
- 3 1/2 teaspoons baking powder
- 1 teaspoon salt
- 3/4 cup shortening
- 1 cup milk
- 1 1/2 teaspoons vanilla extract
- 2 large eggs
- Bunny-shaped cake pan
- Frosting (various colors for decorating)
- Sprinkles and candies for embellishment
Having all of your ingredients accurately measured and your equipment prepped and within easy reach before you even begin mixing is essential. This meticulous preparation ensures a smooth, efficient, and stress-free baking process for your delightful and festive bunny cake. This allows you to focus solely on the joy of creating what will surely be a memorable dessert and you can check out this external link for more inspirations.
4. Step-by-Step Baking Instructions
Mixing the Dry Ingredients
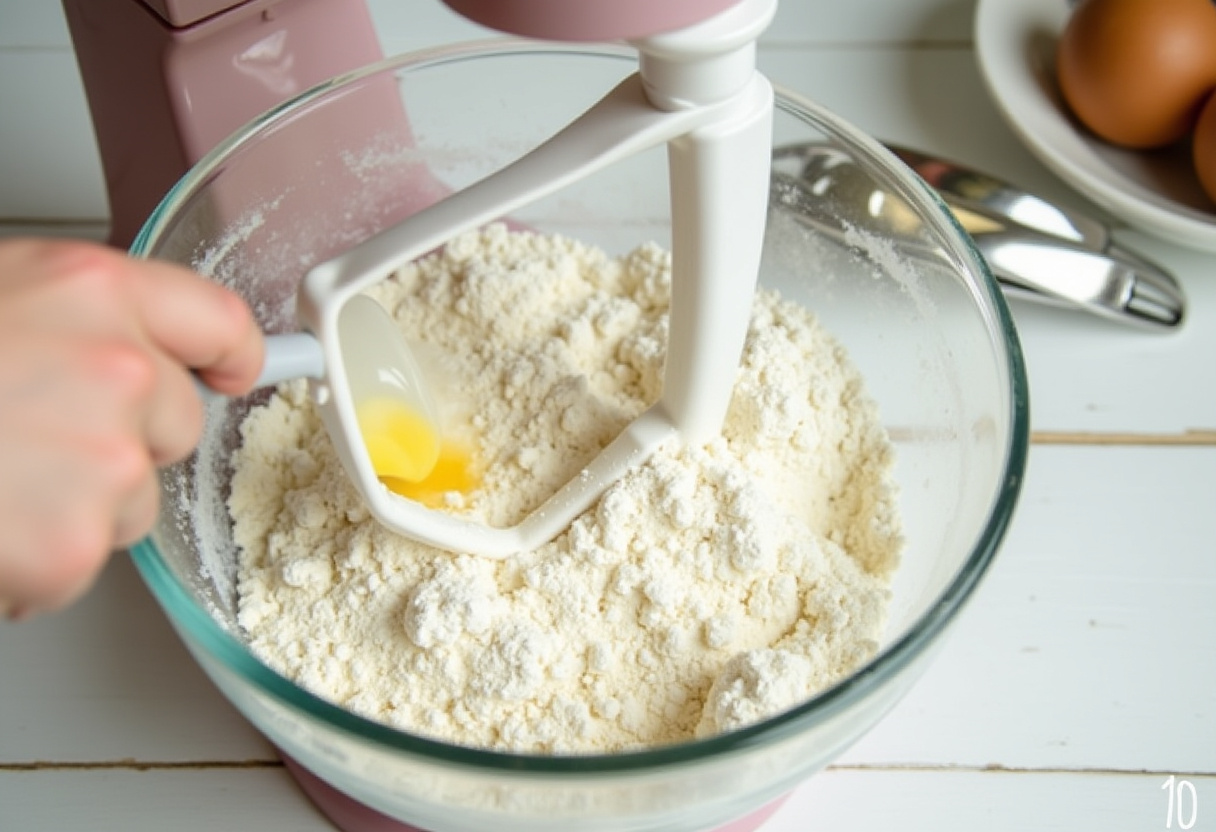
Begin by taking a large mixing bowl and whisking together the all-purpose flour, granulated sugar, baking powder, and salt. This seemingly simple step is actually quite important, as it ensures an even and consistent distribution of the crucial leavening agents (that’s the baking powder!) throughout the flour mixture. This, in turn, guarantees a perfect and uniform rise during baking, giving your Easter Bunny Cake recipe that light and airy texture we all crave. For another delicious baked treat, try these cream cheese sugar cookies!
Combining Wet and Dry Ingredients
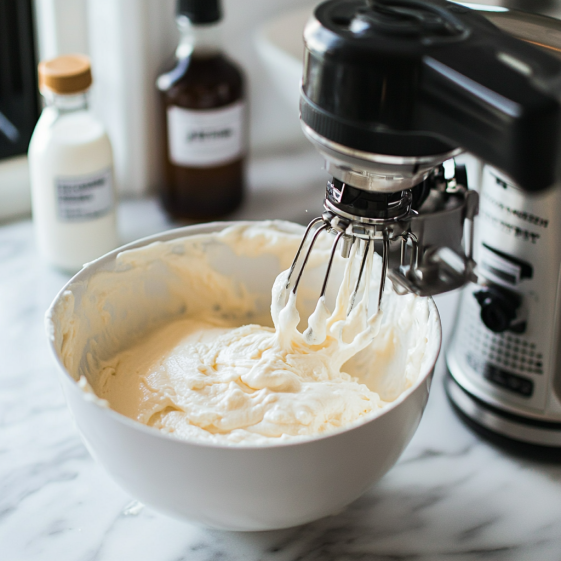
Now, carefully add the shortening, milk, and vanilla extract to the bowl containing the dry ingredients. Using an electric mixer, beat the mixture until all the ingredients are thoroughly combined and you have a relatively homogenous batter. Next, add the eggs one at a time, making sure to mix well after each addition to ensure they are fully incorporated into the batter. The final batter should have a smooth and creamy consistency, signaling that it’s perfectly ready to be transformed into a truly delightful homemade bunny cake that will undoubtedly be the star of your Easter celebration.
Baking the Cake
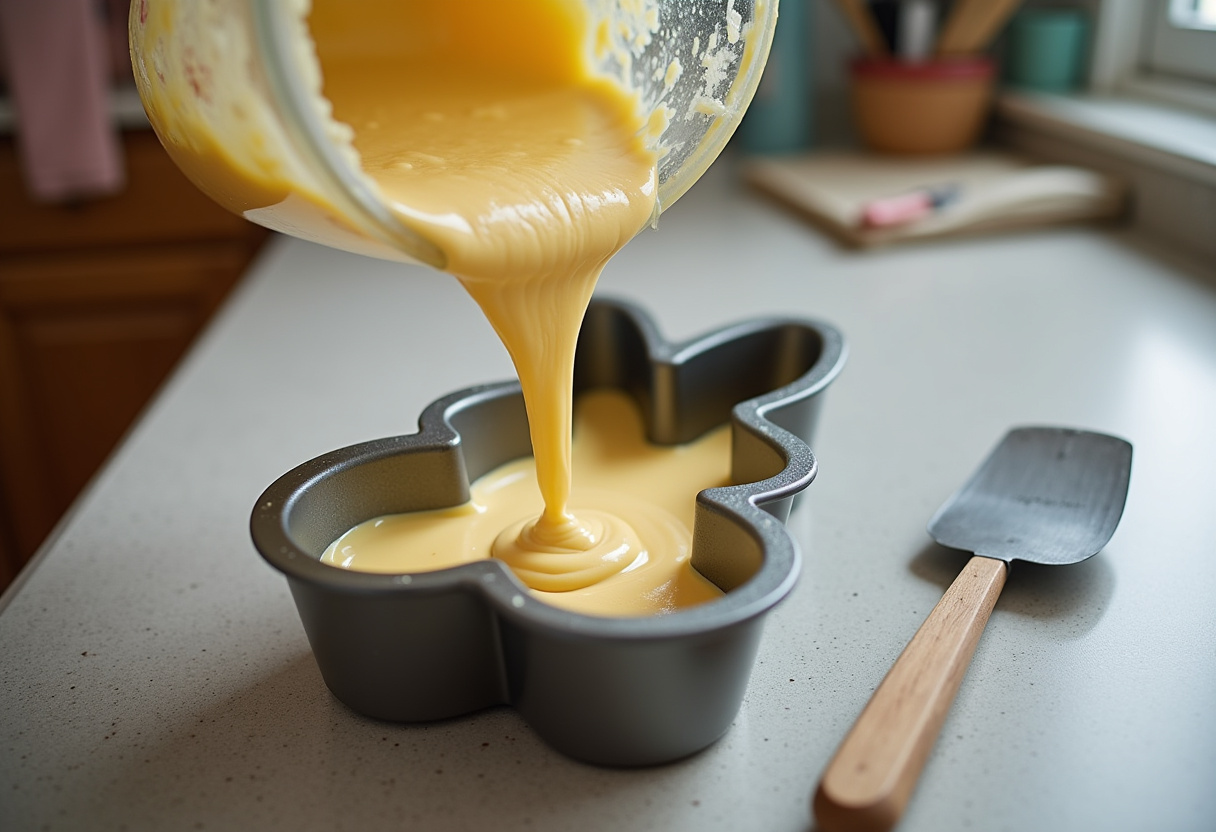
Take your bunny-shaped cake pan and grease it thoroughly to prevent the cake from sticking. For added insurance, you can also lightly flour the pan after greasing it. Carefully pour the prepared batter evenly into the prepared pan, making absolutely certain that it reaches all the nooks and crannies, especially those corners that define the bunny’s shape. Place the filled pan in a preheated oven set to 350°F (175°C) and bake for approximately 30-35 minutes. To check for doneness, insert a toothpick into the center of the cake; if it comes out clean, the cake is perfectly baked. This step is absolutely critical for creating the perfect festive bunny cake. If you love baking, you might want to check out other baking recipes.
Cooling and Preparing for Decoration
Once the cake is baked, carefully remove it from the oven and allow it to cool in the pan for about 10 minutes. This initial cooling period helps the cake to firm up slightly, making it easier to handle. After 10 minutes, invert the cake onto a wire rack to cool completely. Ensuring that the cake is completely cool before you attempt to frost it is essential, because otherwise the frosting will melt and slide right off. Once cooled, your blank-canvas cake is ready to be transformed into a stunning homemade Easter Bunny Cake. Perhaps you’d also enjoy this carrot cake with a twist!
5. Decorating Your Easter Bunny Cake
Now comes the most exciting and creative part – the decorating! Begin by frosting the entire cake with your favorite type of frosting. You can use a single color for a classic look, or get adventurous and use a variety of colors to create a vibrant and festive design. Don’t hesitate to employ colorful sprinkles, candies, and decadent chocolate shavings to add texture, visual interest, and delightful details to your bunny cake. You might even consider using shredded coconut flakes to create a fluffy and irresistibly touchable tail effect. This is the part where your unique creativity truly shines, transforming a simple cake into one of the most memorable and conversation-worthy Easter cake ideas. For another festive idea, consider this Easter dirt cake casserole!
6. Frosting and Decoration Techniques
Achieving a truly professional-looking finish for your homemade bunny cake involves mastering a few fundamental frosting techniques. One useful tool is a piping bag fitted with various tips. These tips allow you to create different textures, intricate patterns, and delicate details with your frosting. You might also consider using fondant—a pliable sugar paste—for crafting more elaborate details such as realistic bunny ears or a charming bow tie. Don’t be afraid to experiment with a wide range of frosting colors to bring your festive bunny cake to vibrant life. If you’re feeling uninspired, browse the internet for Easter cake ideas and helpful decorating tutorials to ignite your imagination and guide your design process.
7. Tips for a Perfect Bunny Cake
- Ensure your cake pan is thoroughly greased and floured to prevent sticking.
- Cool the cake completely before frosting to avoid melting.
- Use a serrated knife to trim any uneven surfaces for a smooth finish.
- Get creative with your decorations – there are no rules when it comes to making a festive bunny cake!
8. Serving and Storage Instructions
Serve your homemade Easter Bunny Cake as a delightful and eye-catching dessert during your Easter celebrations. If, by some miracle, there are any leftovers, store them in an airtight container in the refrigerator for up to three days to maintain their freshness and prevent them from drying out. While this Easter Bunny Cake recipe can be enjoyed for a few days, it’s truly best enjoyed fresh, so be sure to gather your loved ones and savor every single delicious bite! And if you’re looking for something a little different, you might also like this easy lemon poppy seed cake.
9. Conclusion
Creating a homemade Easter Bunny Cake is a truly wonderful and fulfilling way to add a personal and heartfelt touch to your holiday festivities. This festive bunny cake is not only incredibly delicious and visually appealing, but it also provides a fun and engaging activity to share with your family and friends. With our detailed Easter Bunny Cake recipe and a generous sprinkle of your own personal creativity, you’ll effortlessly create a stunning dessert centerpiece that perfectly embodies the joyful spirit of Easter. Happy baking, and may your Easter holiday be filled with an abundance of joy, warm laughter, and, of course, plenty of delicious cake! These inspiring Easter cake ideas are guaranteed to impress your guests and create lasting memories!
Print
Best Homemade Easter Bunny Cake
- Total Time: 1 hour 5 minutes
- Yield: 1 bunny cake 1x
- Diet: Vegetarian
Description
Hop into Easter with this adorable and delicious homemade Easter Bunny Cake recipe! Perfect for a festive centerpiece, this easy-to-follow guide will help you create a stunning bunny cake that’s sure to impress. A fun and creative way to celebrate the holiday!
Ingredients
- 2 1/2 cups all-purpose flour
- 1 1/2 cups granulated sugar
- 3 1/2 teaspoons baking powder
- 1 teaspoon salt
- 3/4 cup shortening
- 1 cup milk
- 1 1/2 teaspoons vanilla extract
- 2 large eggs
- Bunny-shaped cake pan
- Frosting (various colors for decorating)
- Sprinkles and candies for embellishment
Instructions
- Preheat oven to 350°F (175°C). Grease and flour a bunny-shaped cake pan.
- In a large mixing bowl, whisk together the flour, sugar, baking powder, and salt.
- Add the shortening, milk, and vanilla extract to the dry ingredients. Beat with an electric mixer until well combined.
- Add the eggs one at a time, mixing well after each addition.
- Pour the batter evenly into the prepared cake pan.
- Bake for 30-35 minutes, or until a toothpick inserted into the center comes out clean.
- Let the cake cool in the pan for 10 minutes before inverting it onto a wire rack to cool completely.
- Frost the cake with your favorite frosting and decorate with sprinkles and candies.
Notes
- Ensure your cake pan is thoroughly greased and floured to prevent sticking.
- Cool the cake completely before frosting to avoid melting.
- Use a serrated knife to trim any uneven surfaces for a smooth finish.
- Get creative with your decorations!
- Prep Time: 30 minutes
- Cook Time: 35 minutes
- Category: Dessert
- Method: Baking
- Cuisine: American
Nutrition
- Serving Size: 1 slice
- Calories: 350 Kcal
- Sugar: 40g
- Sodium: 250mg
- Fat: 15g
- Saturated Fat: 8g
- Unsaturated Fat: 6g
- Trans Fat: 0g
- Carbohydrates: 50g
- Fiber: 1g
- Protein: 4g
- Cholesterol: 50mg
Keywords: Easter cake, bunny cake, homemade cake, Easter dessert, festive cake, spring dessert, Easter bunny cake recipe, cake decorating, easy cake recipe

