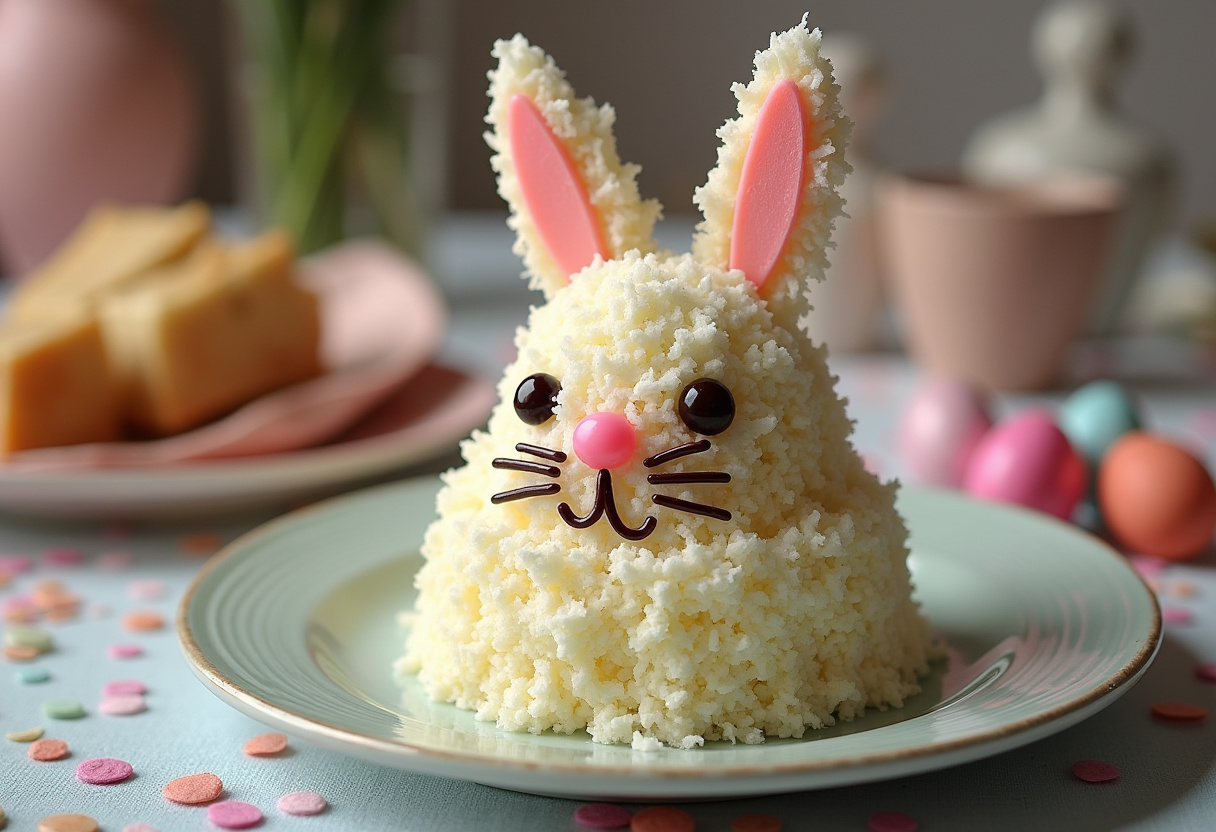
Classic Easter Bunny Cake: Hop into Spring with this Adorable Treat! 🐰🥕🍰
1. Introduction
The Classic Easter Bunny Cake recipe is a timeless tradition that brings joy and sweetness to any Easter celebration. This delightful cake, shaped like a charming bunny, is not only visually appealing but also incredibly delicious. It’s more than just a dessert; it’s an experience that brings families together. If you’re looking for classic Easter cake ideas, this bunny cake recipe is a perfect choice. It’s a fantastic way to create lasting memories with your family and friends. This guide will take you through each step of the process, ensuring your Easter Bunny Cake turns out beautifully.
Whether you’re a seasoned baker or a novice, you’ll find this recipe easy to follow and fun to create. We’ll break down each step, providing tips and tricks along the way to help you achieve bakery-worthy results. Think of the joy on your loved ones’ faces when you present this adorable, homemade creation! Before you begin, you might want to explore some other equally delightful Easter treats. How about a creamy and decadent Easter Dirt Cake Casserole ? Or perhaps a classic Carrot Cake for Easter Dinner? Get ready to hop into the kitchen and bake this adorable Classic Easter cake!
2. Ingredients Needed
Before you start baking your Easter Bunny Cake, gather all the necessary ingredients. Having everything prepped and ready to go will streamline the baking process and ensure you don’t have to make any last-minute trips to the store. Here’s what you’ll need:
- 2 1/2 cups all-purpose flour
- 1 1/2 cups granulated sugar
- 3 1/2 teaspoons baking powder
- 1 teaspoon salt
- 3/4 cup unsalted butter, softened (very important for smooth mixing!)
- 1 cup milk
- 2 large eggs
- 2 teaspoons vanilla extract
- Frosting of your choice (vanilla, buttercream, or cream cheese work well). Consider making your own for an extra special touch! For a light and tangy option, check out this Easy Lemon Poppy Seed recipe
- Shredded coconut (for that adorable fluffy bunny look)
- Jelly beans and licorice for decoration (get creative with colors and shapes!)
Having these ingredients ready will ensure a smooth and enjoyable baking experience. This bunny cake recipe is quite forgiving, so don’t worry too much about precise measurements. The most important thing is to have fun! If you love baking and want to explore more delightful treats, be sure to browse our Baking category for inspiration.
3. Equipment Required
To bake your Classic Easter Cake, you’ll need a few essential kitchen tools. While some items can be substituted, having the right equipment will definitely make the process easier and more enjoyable:
- Two 9-inch round cake pans
- Mixing bowls (various sizes are helpful)
- Electric mixer (a stand mixer or hand mixer will work)
- Rubber spatula
- Cooling rack
- Sharp knife (for shaping the bunny)
- Piping bag (optional, but great for adding decorative details with frosting)
Ensure that your equipment is clean and ready to use. A well-prepared kitchen will make the baking process much more efficient. With the right tools, creating this Easter Bunny Cake recipe will be a breeze. And if you’re looking to complement your cake with other Easter dinner staples, you might also consider checking out our recipes for Deviled Eggs, Glazed Ham, or even some Scalloped Potatoes!
4. Step-by-Step Instructions
Follow these detailed instructions to create your adorable Easter Bunny Cake. Each step includes helpful tips to ensure your cake turns out perfectly:
Step 1: Prepare the Cake Batter
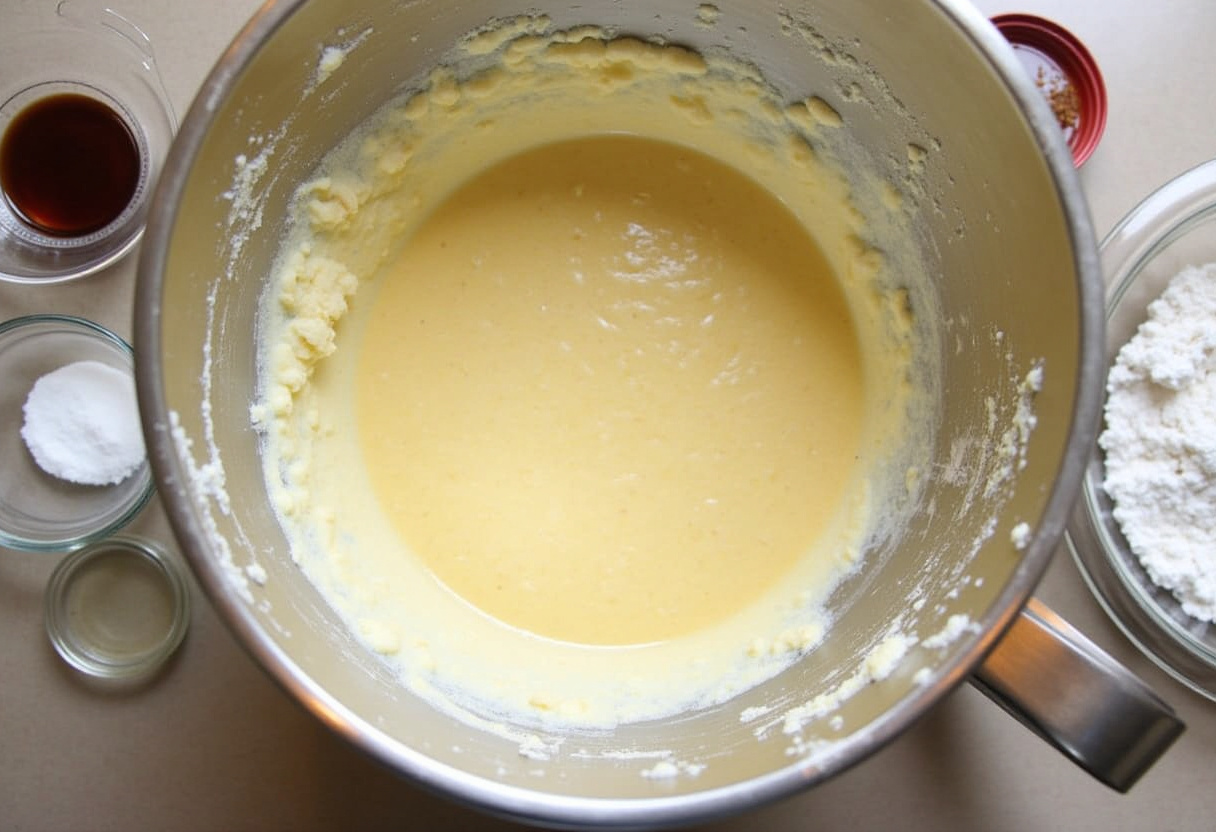
Preheat your oven to 350°F (175°C). Grease and flour the two 9-inch round cake pans. This prevents the cake from sticking and ensures easy removal. In a large mixing bowl, combine the flour, sugar, baking powder, and salt. Add the softened butter and milk, and mix until well combined. Beat in the eggs one at a time, then stir in the vanilla extract. Ensure the batter is smooth and free of lumps. Overmixing can lead to a tough cake, so mix until just combined. This batter is the foundation of your bunny cake recipe, so take your time to get it right.
Step 2: Bake the Cakes
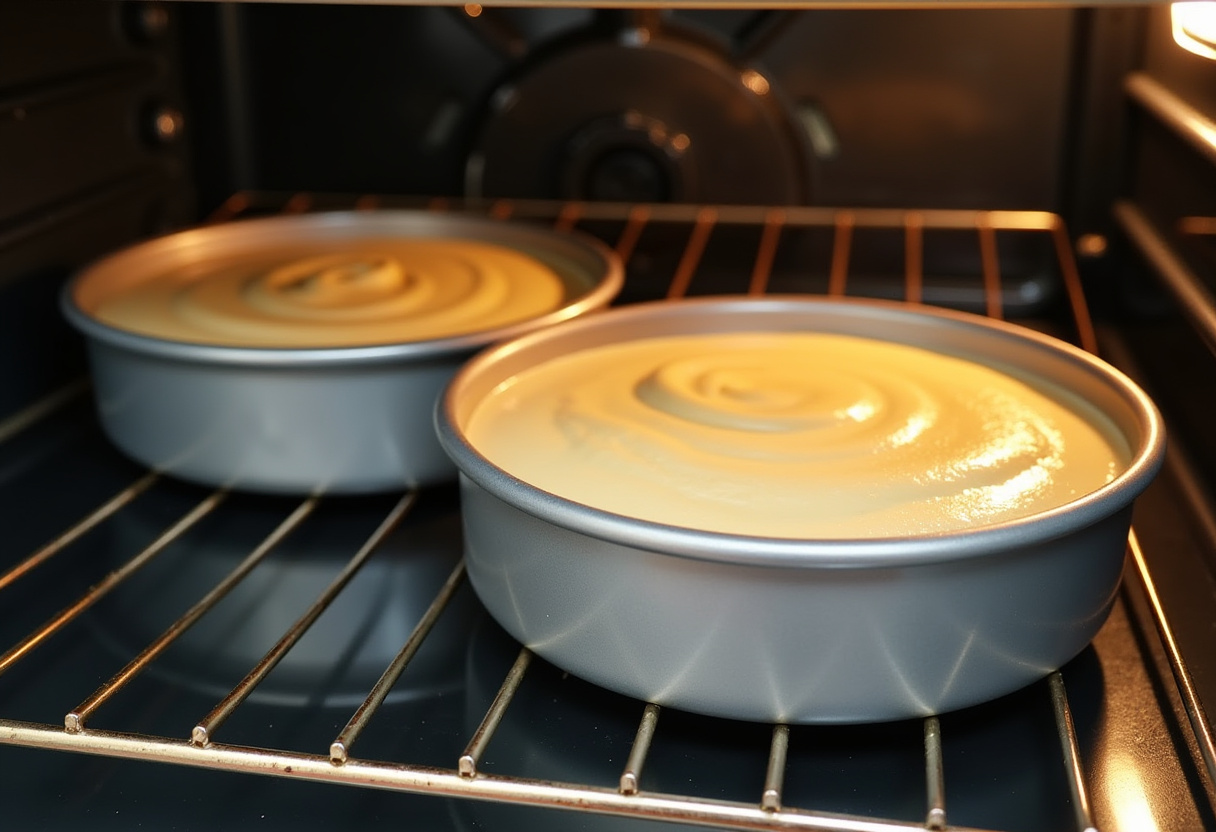
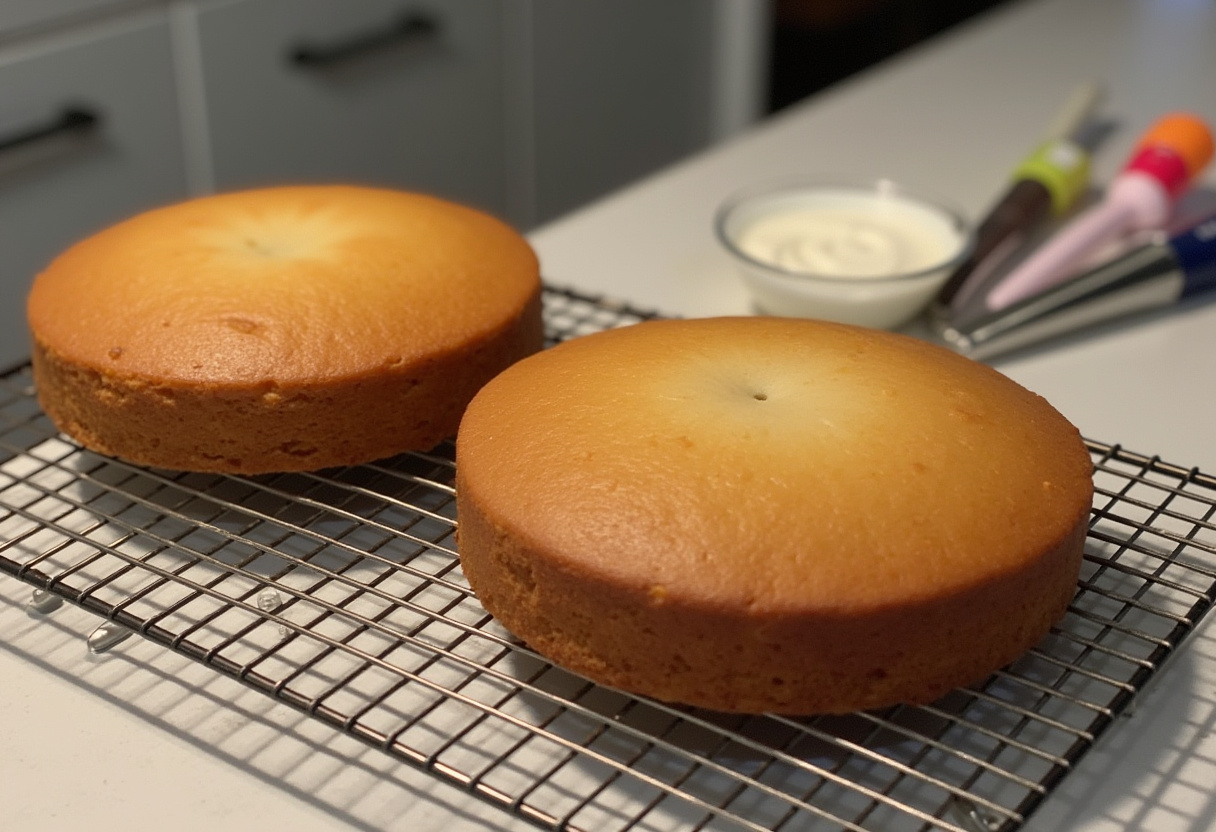
Pour the cake batter evenly into the prepared pans. Bake for 30-35 minutes, or until a toothpick inserted into the center comes out clean. Start checking for doneness around 30 minutes to avoid overbaking. Let the cakes cool in the pans for 10 minutes before inverting them onto a cooling rack to cool completely. Cooling the cakes completely prevents them from breaking when you shape them. This step is crucial to ensure your cakes are perfectly baked, ready for the next stage of the Easter Bunny Cake recipe.
Step 3: Cut and Shape the Bunny
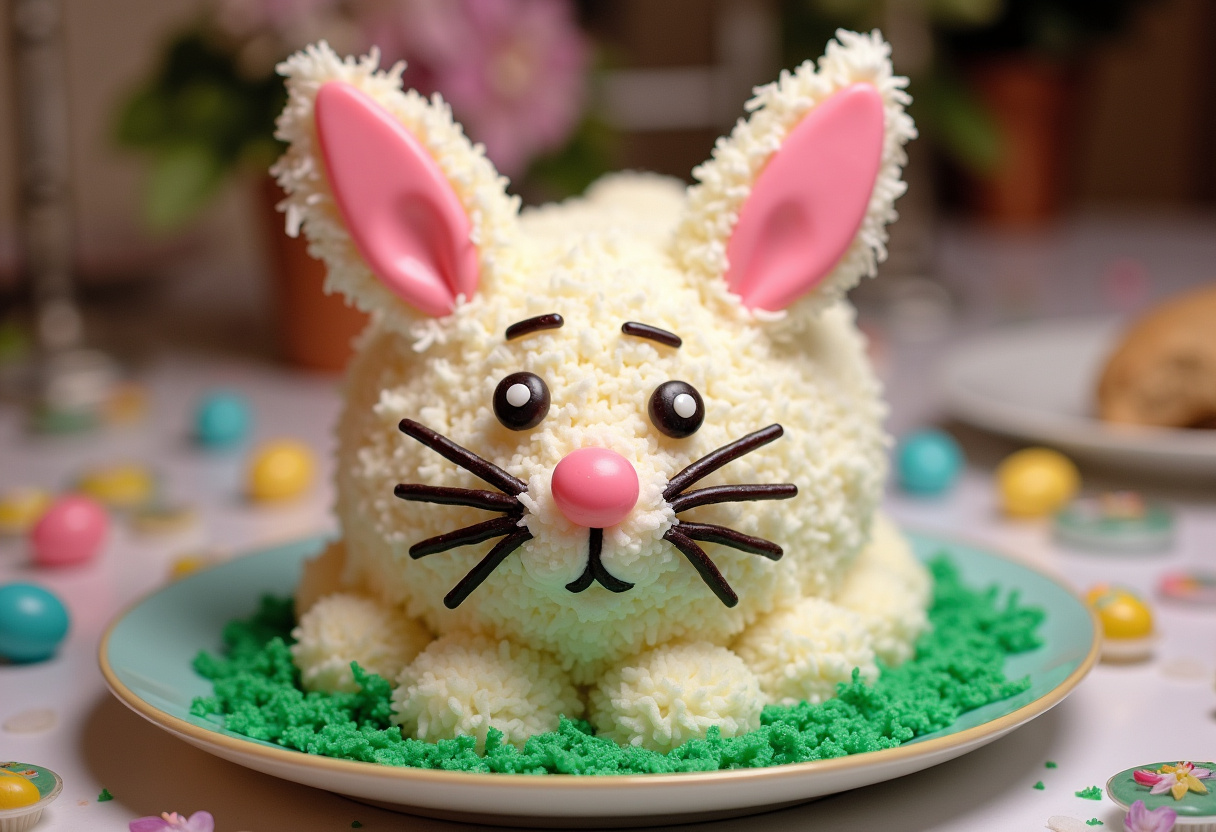
Once the cakes are completely cool, it’s time to shape the bunny. Place one cake on a serving plate. Use a sharp knife to cut the second cake as follows: cut two ear shapes from the top of the cake, a bow tie shape from the middle and use the remaining centre piece as the bunny’s body. Arrange the ear shapes at the top of the first cake to create the bunny’s head. Use cut parts to create a bow tie shape just below the head, use the remaining cake as the bunny’s body. Now you have the basic shape of your Easter Bunny Cake! Don’t worry if the cuts aren’t perfect; frosting and decorations will cover any imperfections.
Step 4: Frost and Decorate
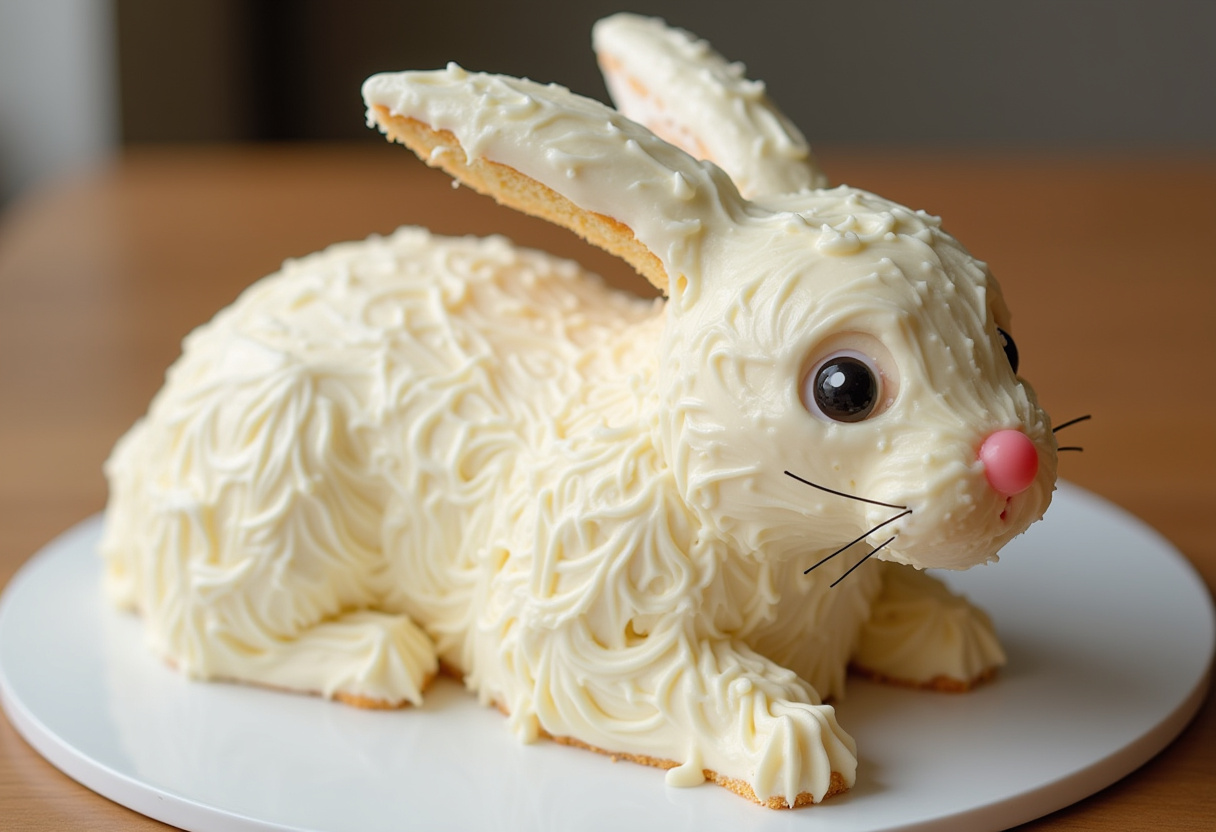
Frost the entire cake with your chosen frosting. A crumb coat (a thin layer of frosting) can help seal in any loose crumbs. Cover the cake with shredded coconut to give it a furry appearance. Gently press the coconut into the frosting so it adheres well. Use jelly beans for the eyes, nose, and buttons. Cut licorice strips to create whiskers. Get creative with your decorations! This is where your Easter cake ideas can truly shine. The final result should be an adorable and festive Easter Bunny Cake that everyone will love. For other dessert ideas, feel free to browse our category section Desserts.
5. Tips and Tricks for the Perfect Cake
Here are some helpful tips to ensure your Easter Bunny Cake is a success:
- Make sure your butter is properly softened for a smooth batter. It should be soft to the touch but not melted.
- Don’t overbake the cakes; check for doneness with a toothpick. Overbaked cakes are dry and crumbly.
- Cool the cakes completely before frosting to prevent melting. Patience is key!
- Use a serrated knife for cleaner cuts when shaping the bunny. A sawing motion works best.
- Get creative with decorations and involve the whole family! Baking is a fun activity to do together.
These tips will help you elevate your bunny cake recipe and create a truly memorable dessert. If you want to see another recipe idea, check this another version of an Easter cake
6. Variations and Substitutions
Feel free to customize this Classic Easter cake to suit your preferences:
- Use chocolate cake mix instead of vanilla for a chocolate bunny. Just be sure to adjust baking time as needed.
- Try different frosting flavors like lemon or raspberry. Complementary flavors can enhance the overall taste.
- Add food coloring to the coconut for a colorful bunny. Pastel colors are perfect for Easter!
- Use candies other than jelly beans for decoration. M&Ms, sprinkles, and other small candies work well.
These variations will allow you to put your own unique spin on this classic Easter Bunny Cake recipe. You can even try adding a twist to spice it up!
7. Serving Suggestions
Serve your Easter Bunny Cake as the centerpiece of your Easter dessert table. Its whimsical design is sure to be a conversation starter. Pair it with other festive treats like cookies, cupcakes, and fruit salad. This cake is best enjoyed fresh, but it can be stored in the refrigerator for up to three days in an airtight container. It’s the perfect ending to a wonderful Easter meal.
8. Health and Nutritional Information
As a classic dessert, the Easter Bunny Cake is intended as a treat. Nutritional information will vary depending on the ingredients and frosting used. To make it healthier, consider using a low-sugar frosting, substituting applesauce for some of the butter, or adding fruit to the batter. Portion control is also key!
9. Conclusion
The Classic Easter Bunny Cake recipe is a delightful and festive way to celebrate springtime. With its adorable shape and delicious flavor, it’s sure to be a hit with both kids and adults. Follow this guide, get creative with your decorations, and enjoy the process of creating this cherished Easter tradition. Happy baking, and Happy Easter!
Print
Classic Easter Bunny Cake
- Total Time: 1 hour 5 minutes
- Yield: 12 servings 1x
- Diet: Vegetarian
Description
Hop into spring with this adorable Classic Easter Bunny Cake! A timeless tradition that brings joy and sweetness to your Easter celebration. This easy-to-follow bunny cake recipe is perfect for creating lasting memories with family and friends.
Ingredients
- 2 1/2 cups all-purpose flour
- 1 1/2 cups granulated sugar
- 3 1/2 teaspoons baking powder
- 1 teaspoon salt
- 3/4 cup unsalted butter, softened
- 1 cup milk
- 2 large eggs
- 2 teaspoons vanilla extract
- Frosting of your choice (vanilla, buttercream, or cream cheese work well)
- Shredded coconut
- Jelly beans and licorice for decoration
Instructions
- Preheat oven to 350°F (175°C). Grease and flour two 9-inch round cake pans.
- In a large mixing bowl, combine flour, sugar, baking powder, and salt. Add softened butter and milk, and mix until well combined. Beat in eggs one at a time, then stir in vanilla extract. Ensure batter is smooth.
- Pour batter evenly into prepared pans. Bake for 30-35 minutes, or until a toothpick inserted into the center comes out clean.
- Let the cakes cool in the pans for 10 minutes before inverting them onto a cooling rack to cool completely.
- Once the cakes are completely cool, it’s time to shape the bunny. Place one cake on a serving plate. Use a sharp knife to cut the second cake as follows: cut two ear shapes from the top of the cake, a bow tie shape from the middle and use the remaining centre piece as the bunny’s body.
- Arrange the ear shapes at the top of the first cake to create the bunny’s head. Use cut parts to create a bow tie shape just below the head, use the remaining cake as the bunny’s body. You now have the basic shape of your Easter Bunny Cake!
- Frost the entire cake with your chosen frosting. Cover with shredded coconut for a furry appearance. Use jelly beans for eyes, nose, and buttons. Cut licorice strips for whiskers.
Notes
- Make sure your butter is properly softened for a smooth batter.
- Don’t overbake the cakes; check for doneness with a toothpick.
- Cool the cakes completely before frosting to prevent melting.
- Use a serrated knife for cleaner cuts when shaping the bunny.
- Get creative with decorations and involve the whole family!
- Prep Time: 30 minutes
- Cook Time: 35 minutes
- Category: Dessert
- Method: Baking
- Cuisine: American
Nutrition
- Serving Size: 1 slice
- Calories: 350 Kcal
- Sugar: 40g
- Sodium: 250mg
- Fat: 18g
- Saturated Fat: 10g
- Unsaturated Fat: 7g
- Trans Fat: 0g
- Carbohydrates: 45g
- Fiber: 1g
- Protein: 4g
- Cholesterol: 60mg
Keywords: Easter bunny cake, bunny cake recipe, Easter cake ideas, classic Easter cake, Easter dessert, homemade cake, spring dessert

